Mastering your Hold Point: A World Champion's Secrets
Introduction
I'm David Radulovich and today I want to share with you a drill that has been a game-changer for my shooting skills. It's called the Hold-Point Drill, and it's something I've been using for years to improve my consistency and accuracy in shooting. In fact, I credit this drill for helping me secure a World FITASC Championship win. So, buckle up and get ready to transform your shooting game!
The Hold-Point Drill is all about developing what's called proprioceptive awareness, which is essentially your body's ability to understand and control the movement of your gun. This becomes crucial when you're shooting, especially if you've ever watched your ShotKam footage and realized that your starting point isn't quite where you thought it was. The Hold-Point Drill bridges the gap between where you think you're aiming and where you actually are, helping you consistently set your gun up for the perfect shot.
The beauty of this drill is that you can do it anywhere – in your home, on the side of a building at your gun club, or even out in the field by marking trees or leaves. And the best part? It won't cost you a dime in ammo or targets. Plus, it's one of the most critical physical skills you can develop to enhance your shooting performance.
Step 1: Prepare Your ShotKam
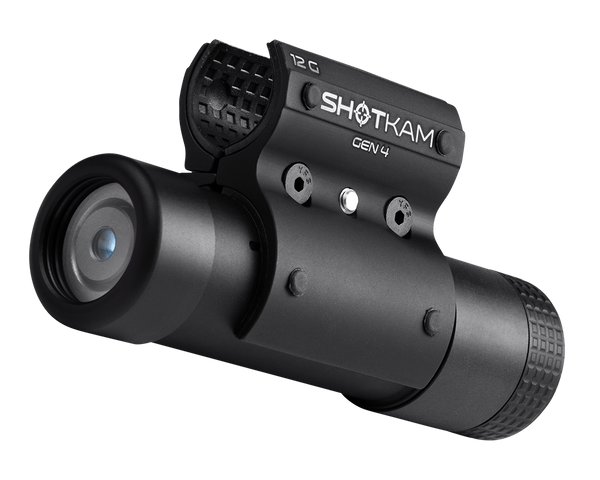
Before you start the drill, put your ShotKam into Wi-Fi mode. Simply turn the camera off, hold the button down for three seconds until it starts broadcasting a Wi-Fi signal. You can then connect your phone to it, allowing you to live-stream the footage (Click here to watch a tutorial for the ShotKam App).
The goal here is to rely on your body's proprioceptive feedback rather than visual cues, so place your phone somewhere you can't immediately see it as you go through the drill. You want to feel when you're in the right position, then verify it later with the footage.
Step 2: Execute the Drill
The core of the Hold-Point Drill involves choosing a target (in this case, the colored squares on the wall), pre-mounting your gun, and following these steps:
Set up the gun into a pre-mounted position. Look at the chosen target with your eyes only, keeping your head still. Adjust your posture while maintaining the gun's angle in relation to your upper body or eyes.
This is where the magic happens. By maintaining a consistent posture and only varying your gun's angle, you're building a proprioceptive relationship that simplifies your shooting. You won't need to learn multiple gun mounts for different bird heights; you'll just master one.
Step 3: Refine Your Technique
As you go through the drill, concentrate on how your body moves. Observe how you call out different numbers and reference the ShotKam footage for feedback. It's normal for this to feel awkward and challenging at first, but that's precisely the point. This drill takes time to build up your spatial understanding of your gun.
Initially, you'll notice some discrepancies between where you think your gun is pointing and where it actually is. However, with consistent practice, you'll get better at intuitively placing your gun where it needs to be.
Now, let's clarify an important aspect of the drill. It's essential to avoid attempting to visually align the gun barrel directly with the target. Trying to look at the bead on the colored paper or target will yield inaccurate results, as it creates a two-dimensional view that can lead to misalignment.
Instead, concentrate solely on the colored paper or target. Let your eyes fixate on the target while feeling your posture adjust to the correct position. Do not glance at the bead or barrel of the gun. Trust your proprioceptive awareness to guide your body into the right posture.
Step 4: Mastering the Comprehensive Mount
The final step is paramount to refining your shooting technique. Slowly mount the gun fully into your shoulder and try to keep your reticle on the colored paper or target. This means that your intense focus should remain on the colored paper, not the gun or bead. Ensure that there are no substantial dips or side movements in your ShotKam video.
I recommend utilizing the ShotKam in Constant Record Mode for this step. Activating this mode is simple: starting with the camera OFF, double-tap the button twice within one second, and you'll see a blue light turn on (Click here for Constant Record Mode Instructions).
Conclusion
In conclusion, the Hold-Point Drill is a simple yet highly effective way to develop your proprioceptive awareness, ensuring your gun is consistently in the right position. While it may feel challenging at first, don't get discouraged. With practice, you'll refine your shooting technique, making you a more confident and accurate shooter. To learn more about this high-tech video camera, learn more about ShotKam.
You are reading:


